When your computer suddenly stutters during heavy tasks, or shuts down without a warning screen, the most likely culprit is thermal throttling. Modern CPUs are designed with built-in sensors that monitor operating temperatures. When these temperatures approach critical limits (typically 95°C to 105°C), the processor throttles itself to prevent physical damage.
In this troubleshooting guide, we’ll explain how to diagnose thermal issues, check sensor metrics, and repair cooling mechanisms.
1. Reading the Sensor Telemetry
Before disassembling your machine, verify the temperature spikes using diagnostic utilities like HWMonitor, Core Temp, or HWiNFO64.
Look for these critical metrics:
- Idle Temperatures: A healthy CPU should idle between 30°C and 45°C (depending on ambient room temperature and cooling configuration).
- Load Temperatures: Under sustained stress tests (e.g., Cinebench, Prime95), temperature should ideally remain under 85°C.
- TjMax (Thermal Junction Maximum): This is the ceiling set by the manufacturer (usually 100°C for Intel and AMD). Reaching TjMax causes the processor to drop core clock multipliers instantly.
- PROCHOT (Processor Hot) Flag: If HWiNFO displays a triggered
PROCHOTflag, the CPU has hit its maximum temperature threshold and is actively throttling.
2. Check for Heatsink Airflow Blockages
Dust is the primary enemy of heat dissipation. Over time, dust bunnies form a thick felt-like layer between the fan blade assembly and the metal fins of the heatsink.
- Power off the computer and unplug it from the wall.
- Open the case side panel.
- Inspect the fan blades. If they look clean but the temperatures remain high, inspect the fins underneath.
- Use a can of compressed air to blow dust out of the fins. Rule of thumb: Hold the fan blades still with a finger while blowing air to prevent the fan from spinning backward and generating static voltage back into the motherboard header.
3. Repasting the CPU
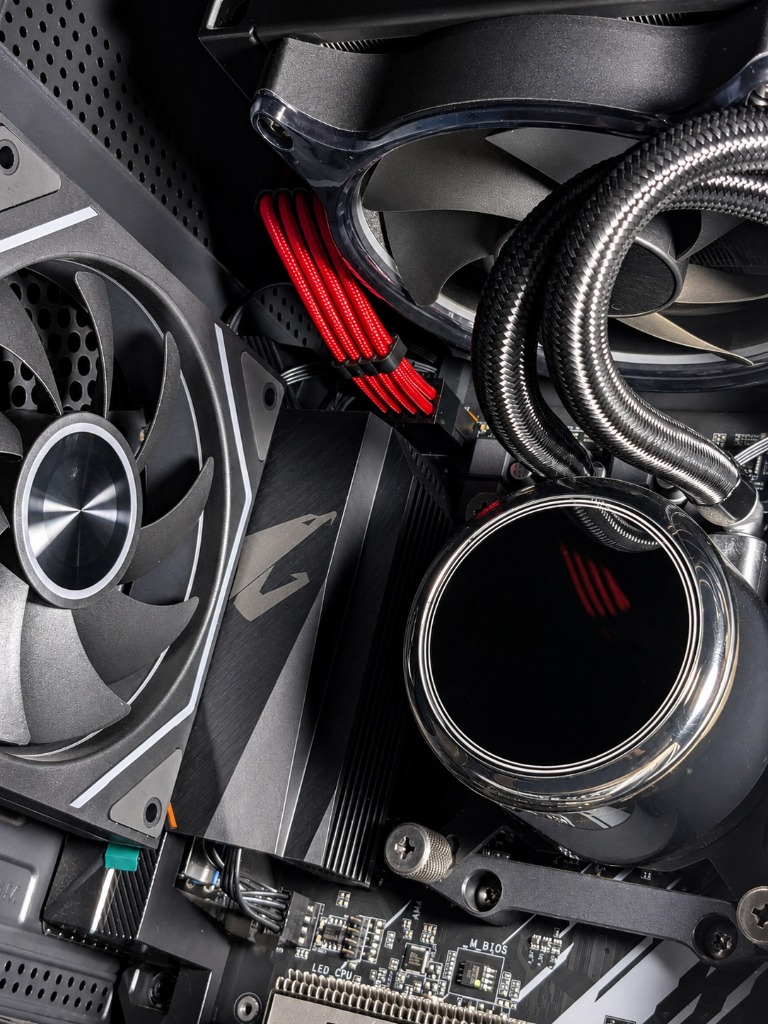
Thermal interface material (thermal paste) fills microscopic air gaps between the CPU’s integrated heat spreader (IHS) and the baseplate of the cooler. Over 2 to 5 years, this paste dries out, turns chalky, and loses its thermal conductivity.
How to Repaste:
- Remove the heatsink mounting screws in a cross pattern (to prevent uneven tension).
- Twist the heatsink gently to break the suction seal before lifting. Warning: Do not pull AMD AM4 coolers straight up; the CPU can stick to the heatsink and bend socket pins. Twist first!
- Clean the old paste off the CPU IHS and cooler block using a microfiber cloth and 99% Isopropyl Alcohol.
- Apply a pea-sized dot (or an X-shape) of fresh high-quality compound (e.g., Arctic MX-6 or Noctua NT-H2) in the center of the CPU.
- Re-mount the cooler, tightening the screws in a star pattern to ensure even distribution.
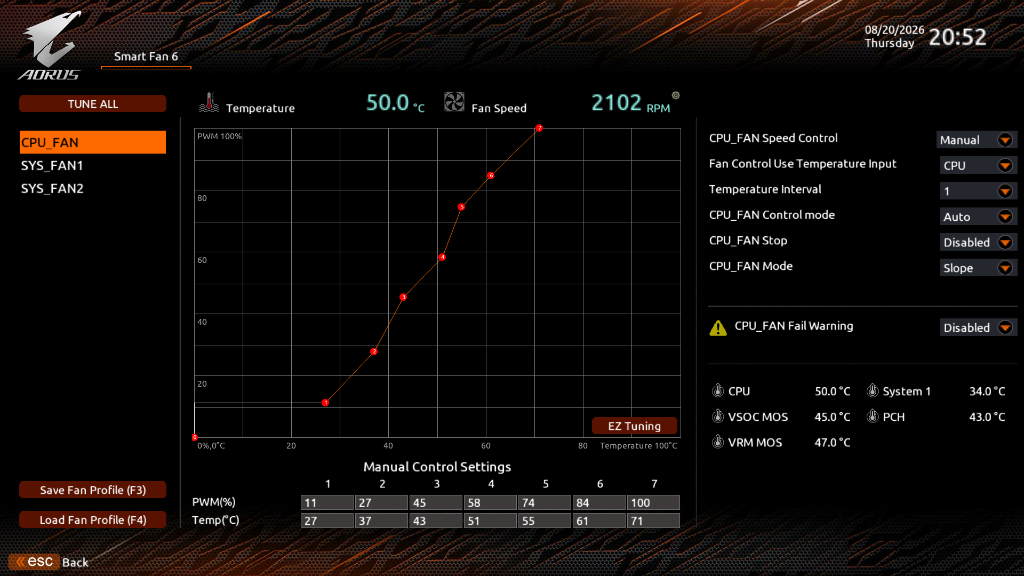
4. Fine-Tuning the Fan Curve
If your hardware is clean, your motherboard’s BIOS might simply have a passive or quiet fan profile that reacts too slowly to temperature spikes.
To optimize fan behavior:
- Enter your BIOS (typically by pressing
DelorF2during boot). - Navigate to Hardware Monitor, Smart Fan Configuration, or Q-Fan Control.
- Switch the fan mode from Quiet or Silent to Standard or Manual.
- Define a manual fan curve. For example:
- 30% speed at 40°C
- 60% speed at 65°C
- 100% speed at 80°C (maximizes cooling before approaching critical TjMax).